How to Put a Metal Bed Frame Together
To assemble a standard metal bed frame, unfold the side rails, insert the crossbar pins into the keyhole slots, attach the centre support beam, and secure the legs/casters in place. No heavy tools are usually required.
At Surplus Furniture, we flat-pack many of our items to save you money and make transport hassle-free. While setting up flat-packed furniture might seem daunting at first, assembling a metal bed frame is a quick, straightforward project you can complete in just a few minutes!
Ready to start building? Follow this simple 7-step guide to set up your metal bed frame smoothly.
Step-by-Step Bed Frame Assembly Instructions
Before installing your metal bed frame, clear a spacious area in the room where the bed will stay.
-
Unfold and Extend the Side Rails
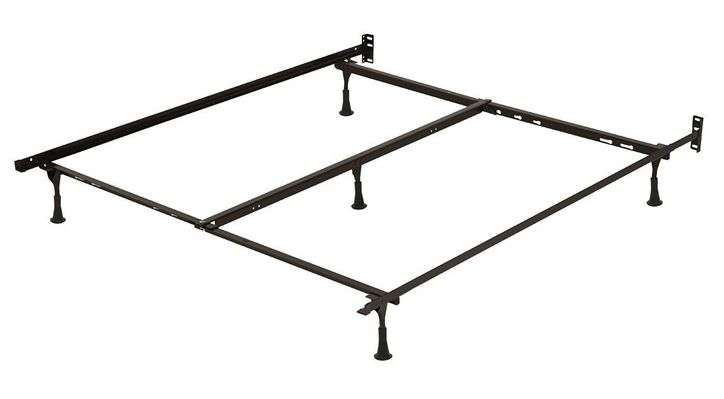
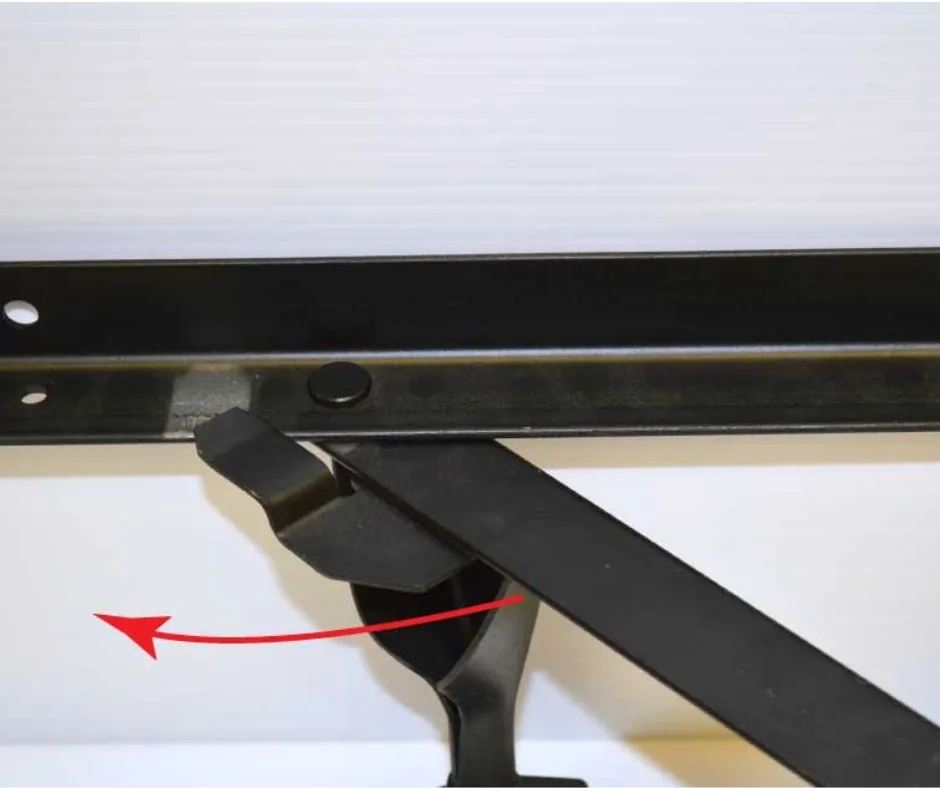
Lay the two main bed frame side rails flat on the floor and swing out the crossbar arms until they form a 90-degree angle.
-
Attach the Glides or Caster Wheels
Insert the glides or caster wheels into the leg sockets on the bottom of each rail section, pressing firmly until they sit flush.
-
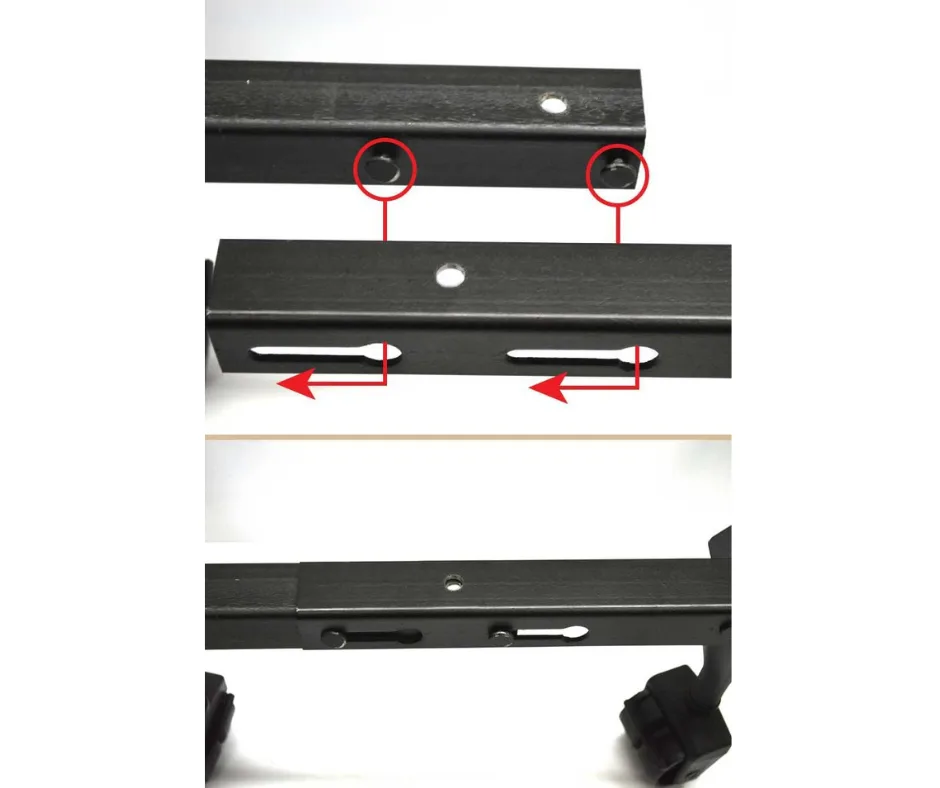
Connect and Adjust Crossbars
Slide the crossbar ends together, align the steel pins with the keyhole slots for your bed size, and press down to lock into place.
-
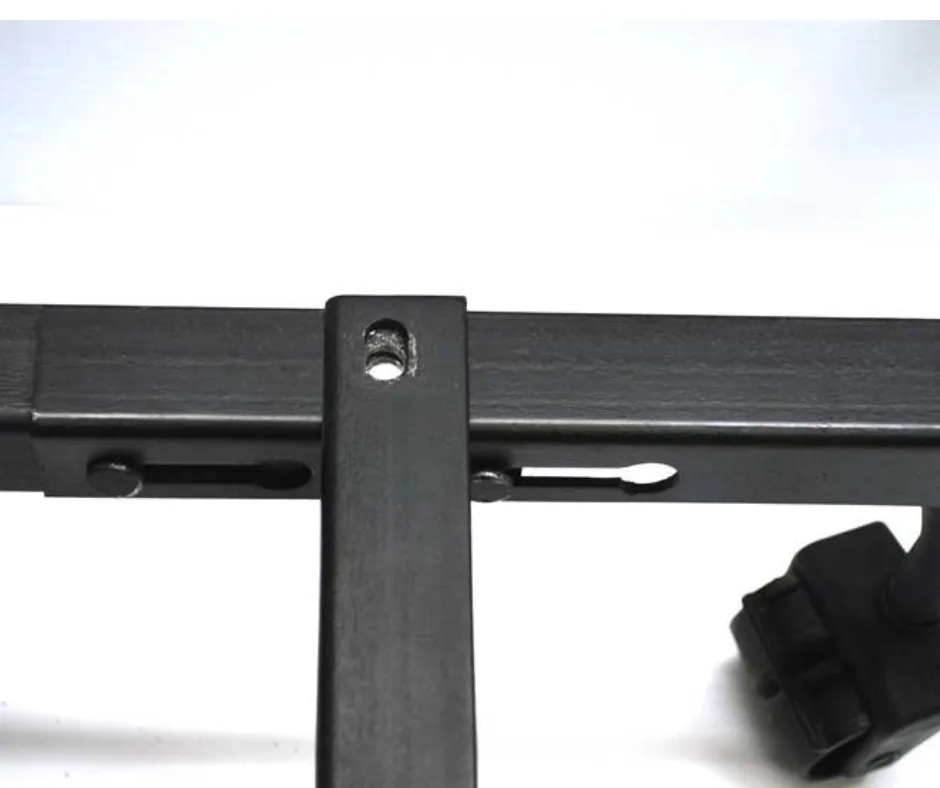
Secure Centre Support Bar (Queen/King Only)
For Queen or King frames, attach the centre bar bracket to the main side rails. Secure the centre support bar to the crossbar assembly with the provided hardware or 5/16″ x ¾″ carriage bolts, washers, and nuts.
-
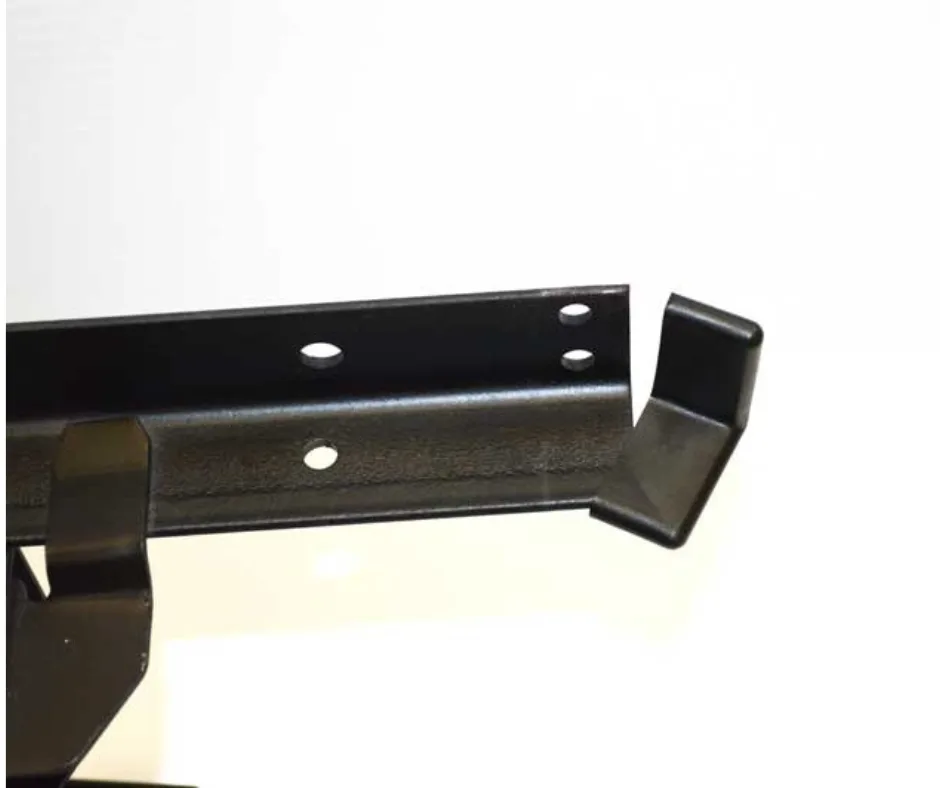
Attach Headboard Brackets
Attach the headboard brackets to the ends of the frame rails using the pre-drilled holes.
If you're installing a headboard, use 1/4″ x 2 1/2″ screws.
-
Set the Box Spring and Tighten
Place the box spring on the bed frame, make any final width adjustments so it fits snugly, and then firmly tighten all the bolts.
-
Add Angle Protectors
Snap the plastic angle protectors onto the outer corners of the frame to protect your walls from scuffs.
Sleep Easy on Your New Bed Frame
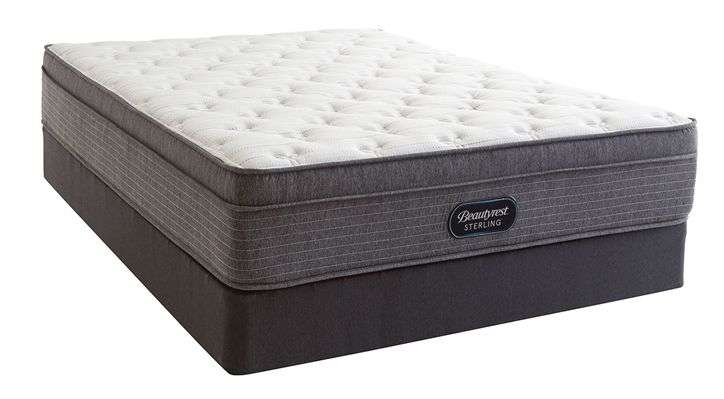
And you're done! Just place your mattress on top of the box spring, throw on your bedding, and enjoy a well-deserved rest.
Upgrading your home setup? Check out our collection of affordable brand-name mattresses or complete bedroom sets and save BIG on bedroom furniture today.
Need extra support? Visit your nearest Surplus Furniture showroom across Canada today!
Metal Bed Frame Assembly FAQs
Do I need tools to assemble a metal bed frame?
Most standard interlocking metal frames do not require tools, though a rubber mallet can help snap rails firmly into place.
Which side of the bed frame rails faces up?
The side with the flat, L-shaped lip facing inward (to hold the box spring) should face up.
How can I stop a metal bed frame from squeaking or rolling?
Ensure all keyhole pins are fully seated into the narrow ends of their slots and tighten any headboard bolts. To stop rolling, engage the wheel locks on the casters or switch from wheels to flat plastic bed glides.
Can one person put a metal bed frame together alone?
Yes, basic metal bed frames are simple enough to be assembled solo in about 15 to 30 minutes. However, having a second person helps align the crossbars and lift heavy box springs onto the frame safely.